Install PHP7, PECL, PEAR on MacOS
Apache 2.2.15 → 2.4.25 PHP 5.6 → 7 へアップデート on CentOS 6.9
PHP 検証フィルタで Email アドレス検証 を検証する
PHP エンジニアであれば必ずやるべき 1 ライナー
http https 混在サイトでの Cookie Secure 属性の扱い方
Jenkins + SonarQube で PHPコードメトリクス計測!
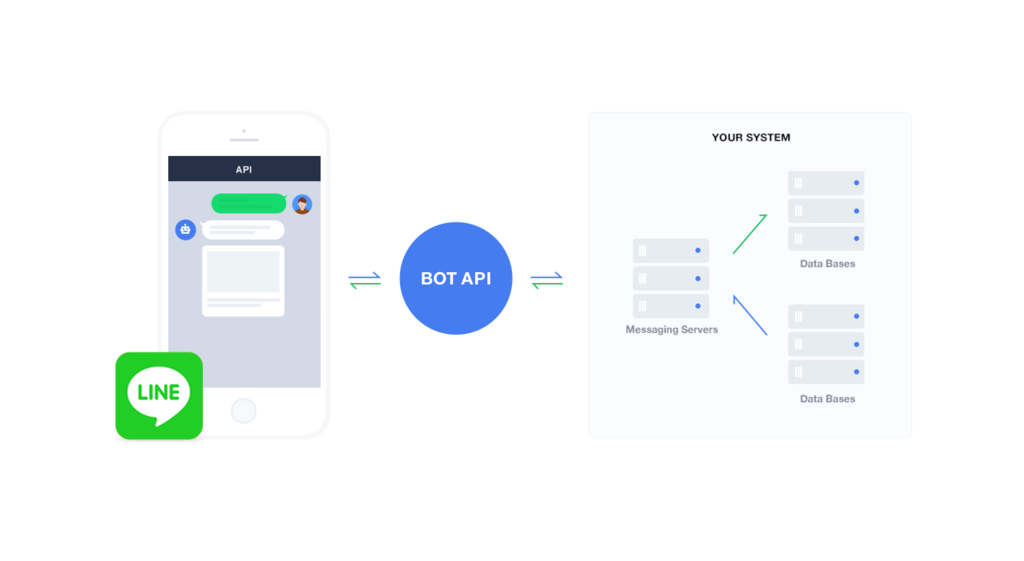
とにかくシンプルにPHPでLineBotApiを書きました
PHP+OpenSSLバージョンアップ